Maya 制作龙卷风效果
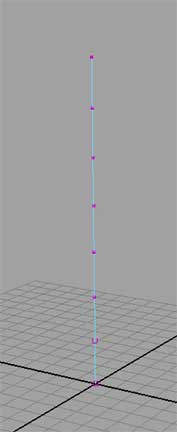
用 CV 工具创建一条笔直向上的线
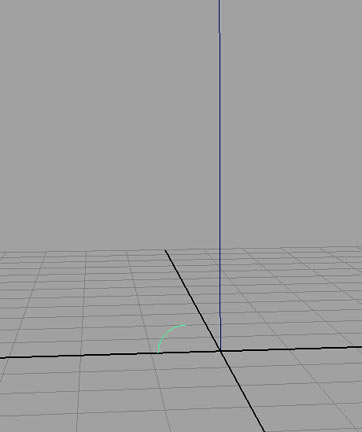
创建一个 Nurbs Circle, 使用以下的属性设置 :
Translate X : -.5
Rotate X : 90
Radius : .04
Sweep : 90
Sections : 3
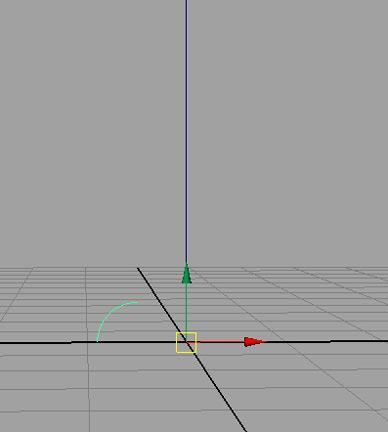
选中这个 circle, 按下 insert 键 , 使用网格捕捉将 pivot 放到原点 .
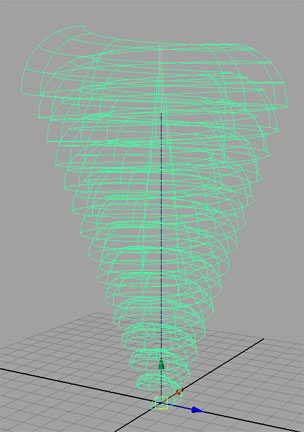
先选择 Nurbs Circle 然后选择曲线 , 在建模菜单下选择 Surfaces > Extrude 命令 , 并在 Channel Box 中设置
如下属性 .
Fixed Path : ON
Use Component Pivot : ON
Use Profile Normal : OFF
Rotation : 5000
Scale : 6
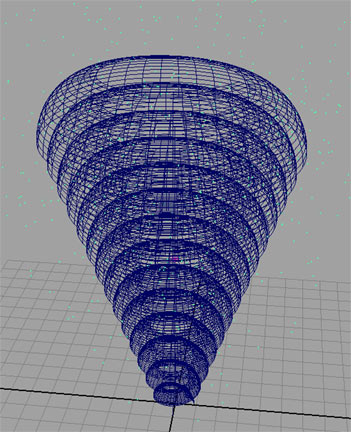
这样将会出现下图的形状 , 你可以通过调整 Rotation 和 Scale 来调整形状 .
在删除历史记录和曲线后将物体命名为 Tornado.
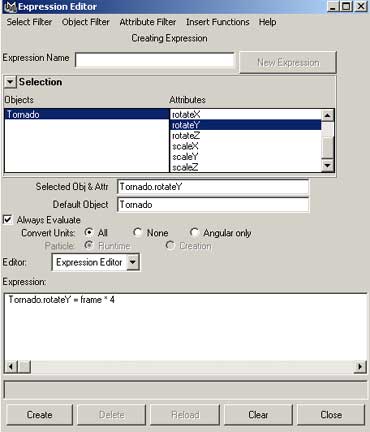
选中 Tornado, 在 Channel Box 中的 Rotate Y 属性上点右键 , 并在菜单中选择 Expressions. 在 Expression Editor 的 Expression area 输入 "Tornado.rotateY = frame * # " 你可以自行确定 # 的数值 , 数值越大龙卷风的自旋就越快
然后选中 Tornado, 并切到 Dynamics 菜单下 , 选择 Particles > Emit from Object > Options. 在 option 对话框中 ,emitter type 选择 Surface, 然后创建它 . 当你播放动画时 , 粒子就会从表面飞散出去了 . 有可能粒子会像内部飞散 . 这样就需要翻转表面方向 (Modeling Menu Set - Edit NURBS > Reverse Surface Direction).
打开 emitter's Attributes 设置以下属性 .
Rate : 1000
Speed : 0