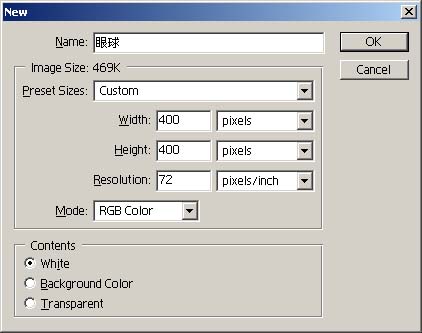
1.新键一个名字为眼球,尺寸为400*400相素,分辨率为72DPI,显示模式为RGB,背景色为白色的文件。
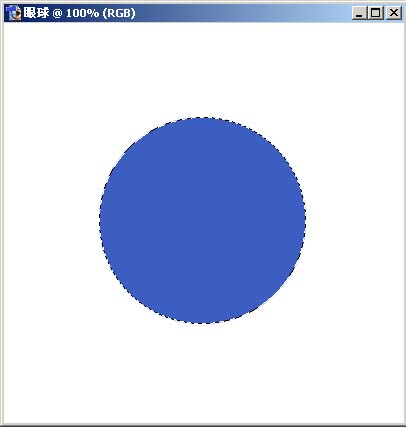
2. 使用Eliptical Marquee tool(椭圆选取工具),按住Shift键,在画面的中央画一个正圆。并用你喜欢的颜色填充,这里我们用#3C5EC1来填充。
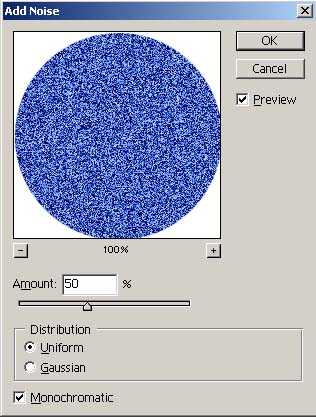
3. 保持圆圈选区,选择菜单filter(滤镜)/noise(噪点)/add noise(添加噪点),其中amount为50%,Distribution里将Uniform前面的选框选中,并将Monochromatic选中。
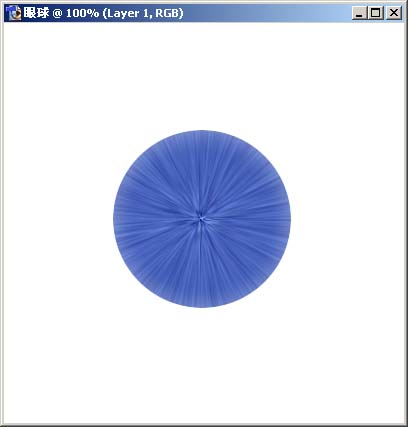
4. 按Ctrl+D取消圆圈选区,执行菜单filter(滤镜)/blur(模糊)/radial blur(辐射式模糊)。其中Amount为100,Blur Method为Zoom,Quality为Best。并执行两次。效果如图:

5. 再使用Eliptical Marquee tool(椭圆选取工具),按住Shift键,在图象中画一个正圆,并按Ctrl+Shift+I反选选区按Del键删除不需要的部分。再按Ctrl+Shift+I反选选区。复制(Ctrl+C)粘贴(Ctrl+V)得到一个新层Layer1。
6.按住Ctrl再去点Layer1得到圆圈选区。选择菜单select(选择)/modify(修改)/border(边框),Width为4。新键一层Layer2并用黑色填充,并执行菜单filter(滤镜)/blur(模糊)/guassian blur(高斯模糊)。Radius为2。
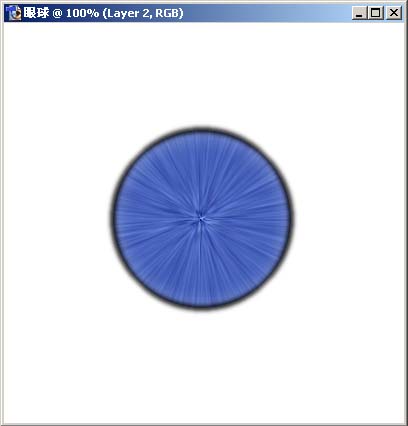
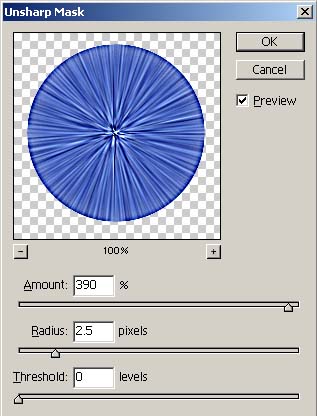
7. 选中图层Layer1,执行菜单filter(滤镜)/sharpen(锐化)/unsharp mask(模糊锐化),其中Amount= 390, Radius= 2.5,Threshold= 0,并将图层Layer1的模式设为Soft Light,透明度为40%。