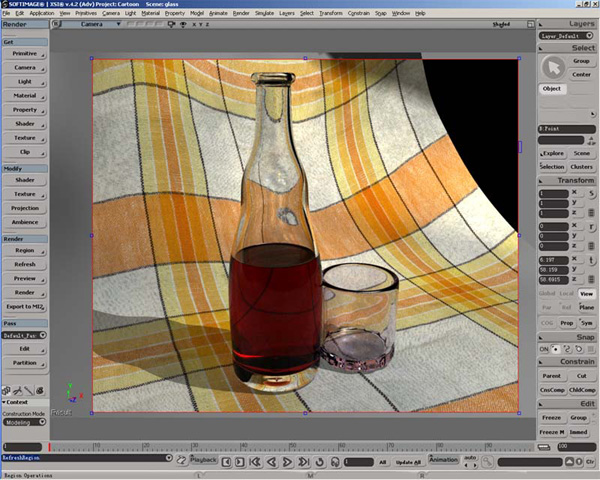
15、现在效果比较好了。
16、稍稍的调整几个参数,在看看效果,好了很多。
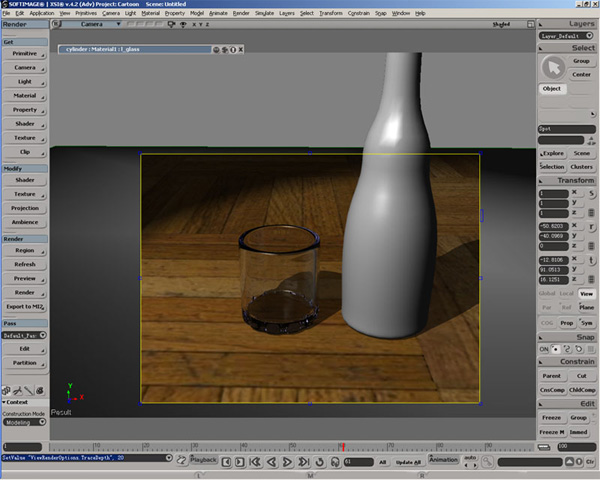
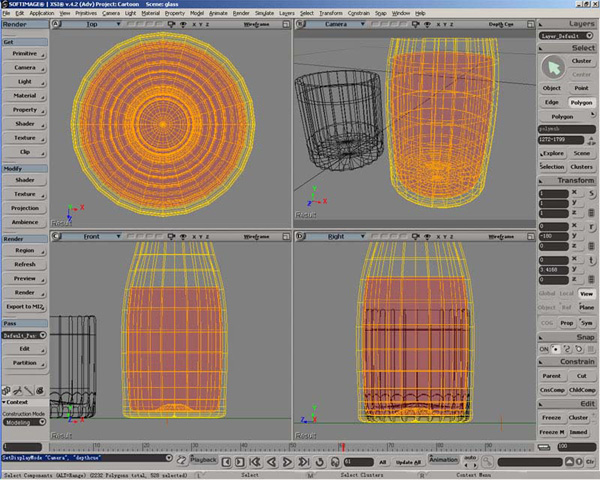
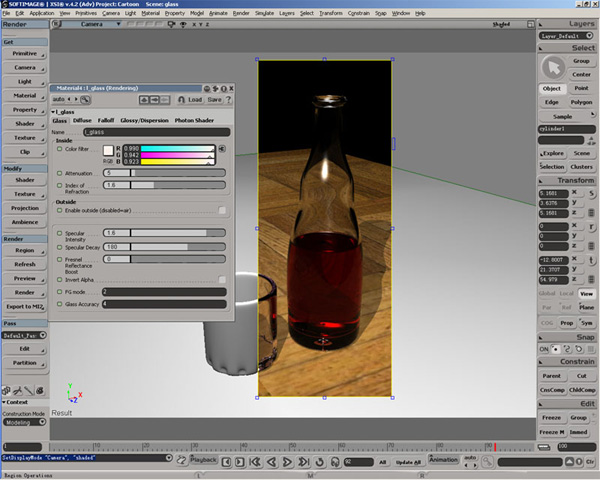
17、同样的方法给瓶子一个l_glass材质。
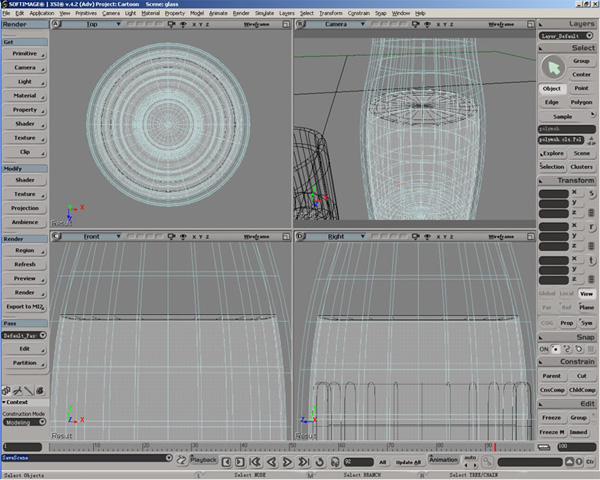
18、接下来作瓶子中的水,并不需要给水建模,只要用瓶子内不的Poly就好。选择瓶子内不得一圈Poly。
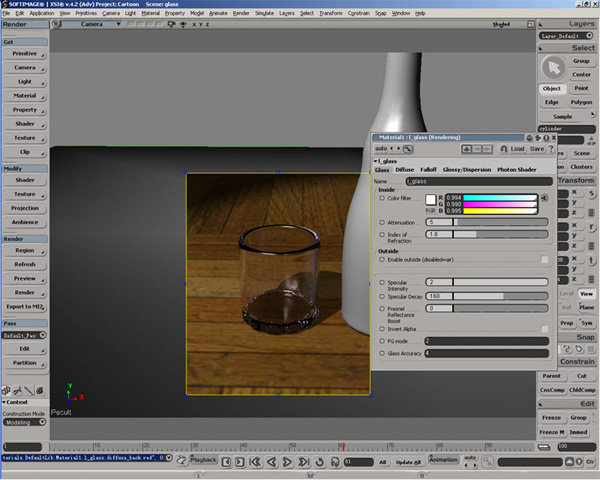
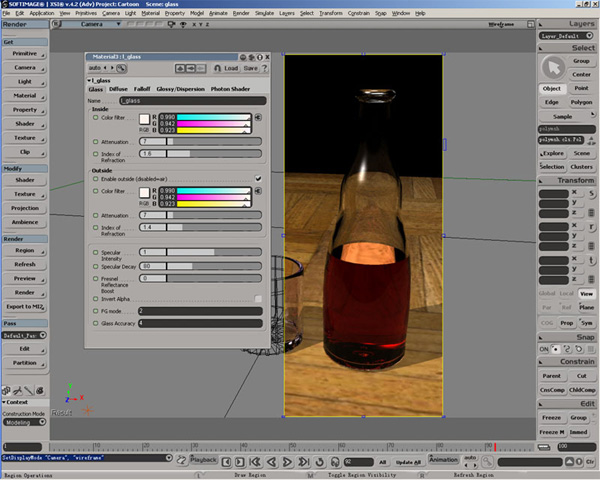
19、使用Material〉More命令,在C:\users\你的用户
名\Softimage\XSI_4.2\Data\DSPresets\Shaders\Material这个目录中选择l_glass。如图中设置。场景有些暗,又增加了一个点光源。
20、接下来需要建模一个水面。
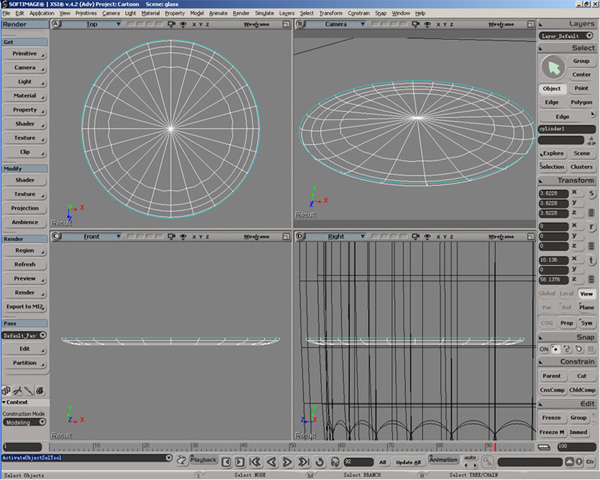
21、把水面这个对象移动到瓶子内部,注意位置。
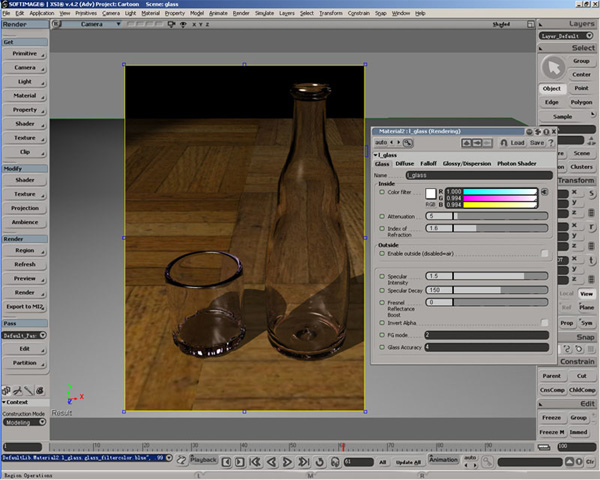
22、材质设置如图。
23.到这里材质的设置就完成了,可以渲染了,当然完全可以打开FG什么的,剩下的环境之类就自己设置吧。